
Dotard's Escape is finally available on the App Store and will be available on the Android market in few days.
So it's a good time to share with you all the work I did for this new Lux et Umbra game [if you want to know more about the game or Lux et Umbra, visit and subscribe the community page HERE]. I don't lie at all when saying that this was one of the funniest work I did in my life.
It's a really a huge amount of work, and it's still in progress, so I'm not going to show you everything [for the moment].
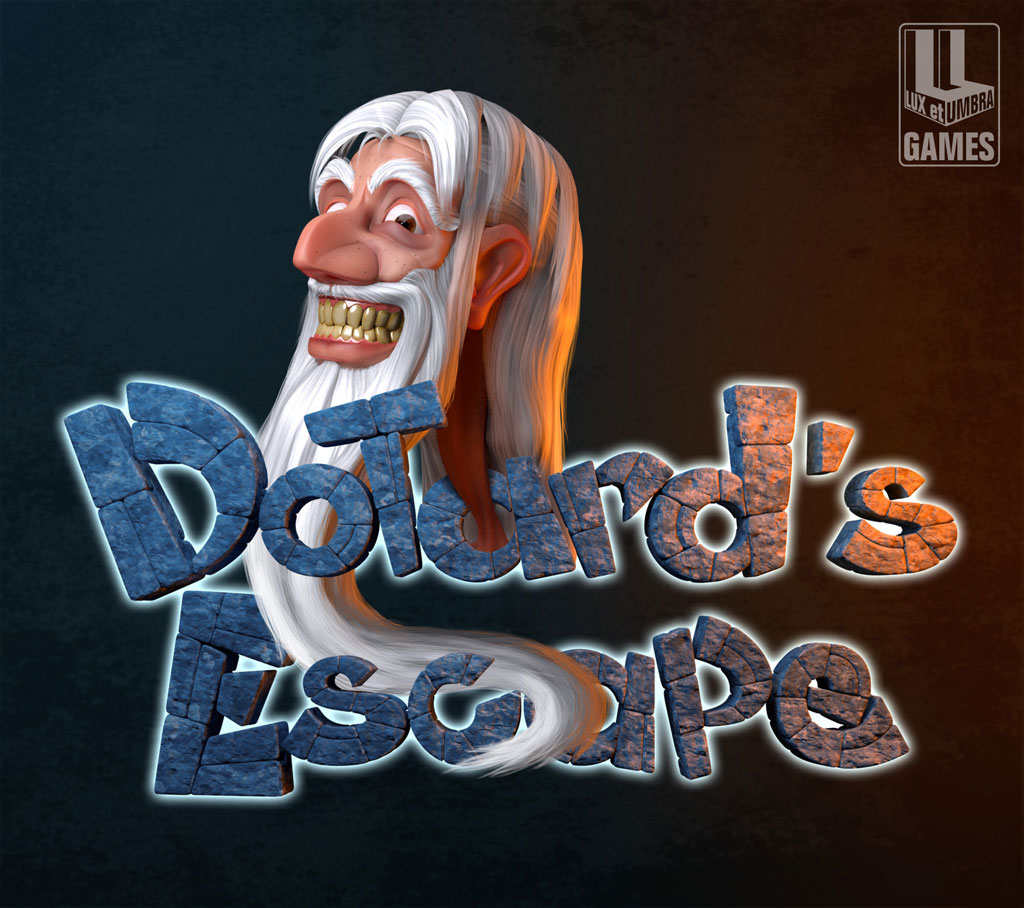
This is the splash screen, one of the many illustrations I did for Dotard's Escape.
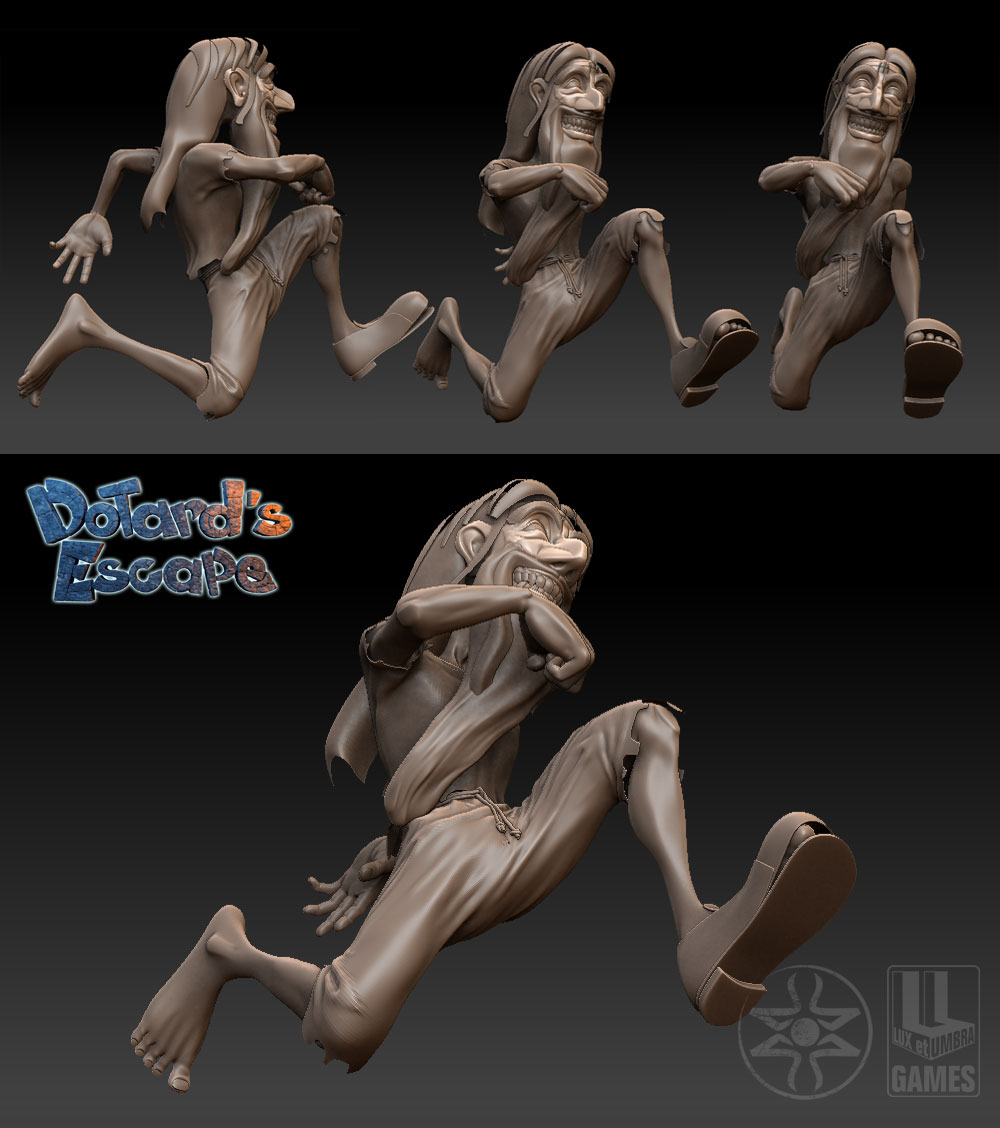
After a rough concept on paper, I created the character on Zbrush [just because Zbrush is much more productive with organic sculpting than Modo].
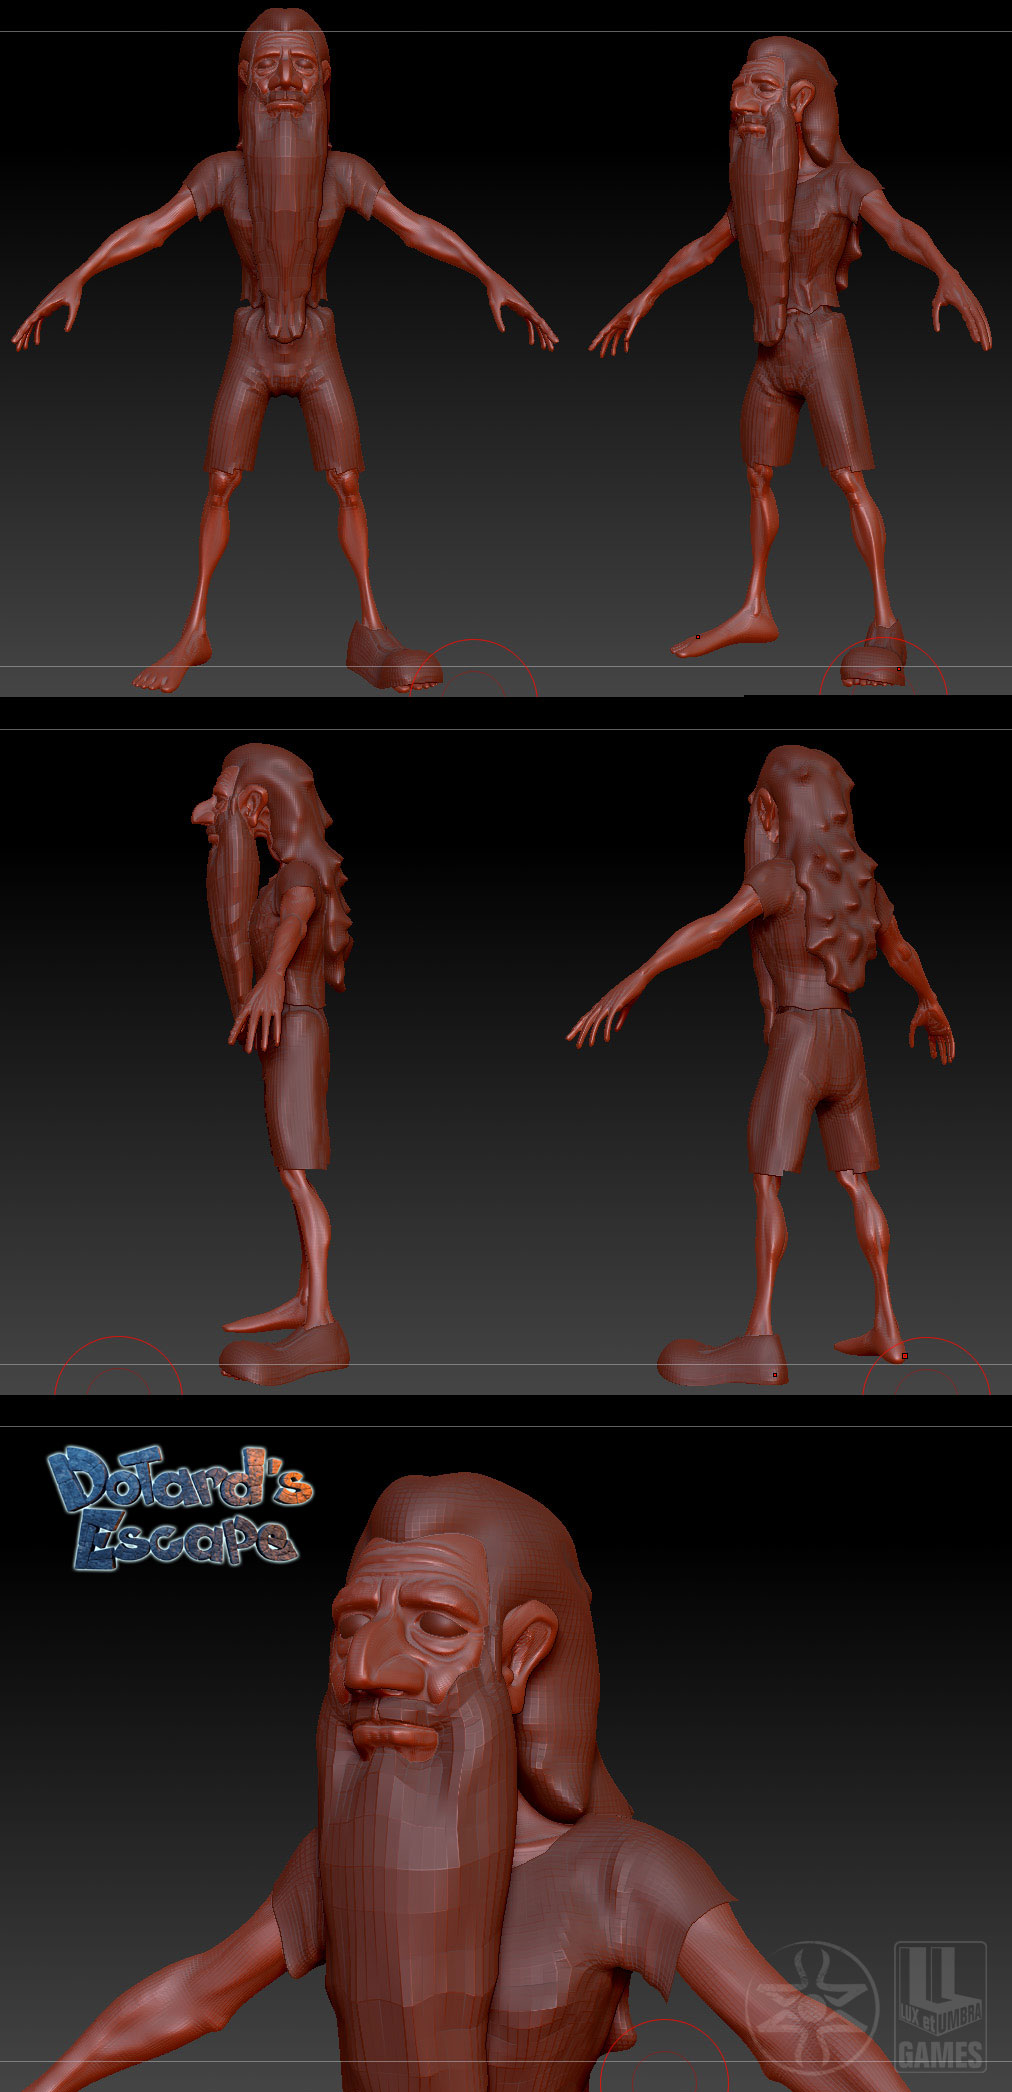
Then I imported the high-res mesh into Modo 501 for retopology and cloth modeling. I decided to double the head resolution because of the large number of expression that I was supposed to do [a very low-res mesh will create too many artifacts when stretched].
With the base model on the view I started to create UVs and textures with Modo and Photoshop [I will always use Modo to back and forth all the textures with Photoshop and solve seams and details problems].

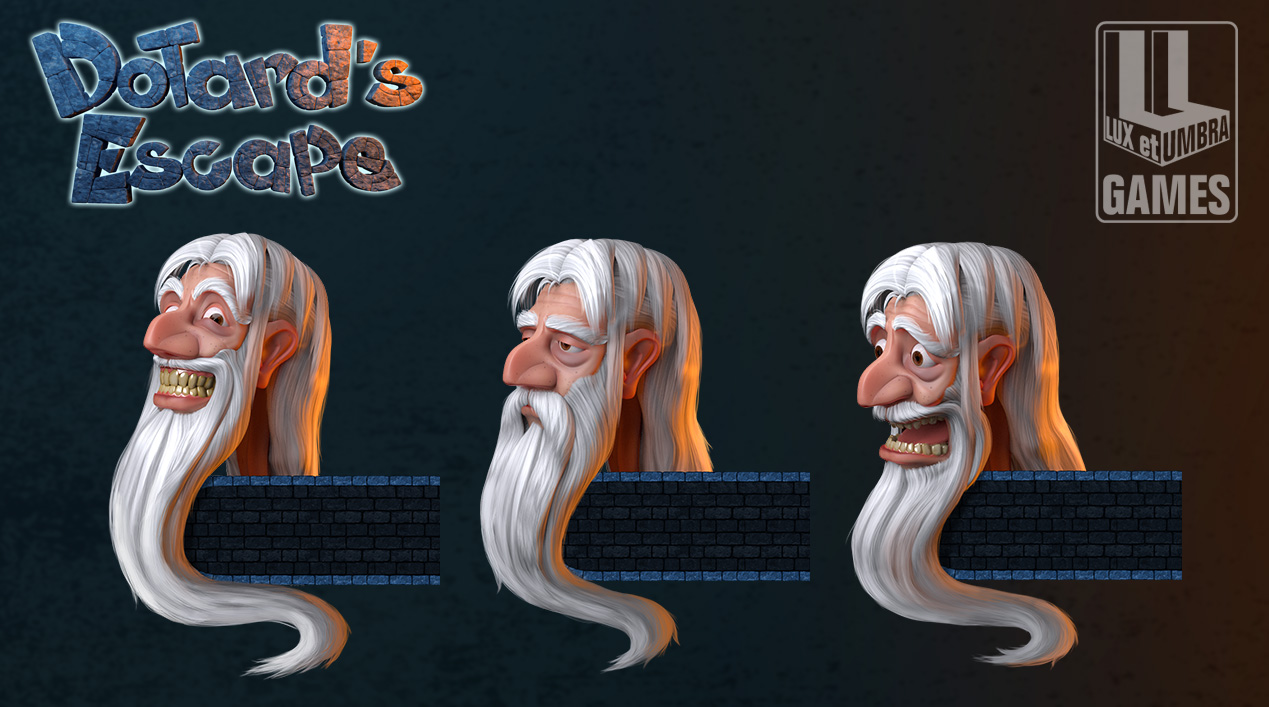
Next step was to create all the expressions planned for the illustrations, all done in Zbrush.
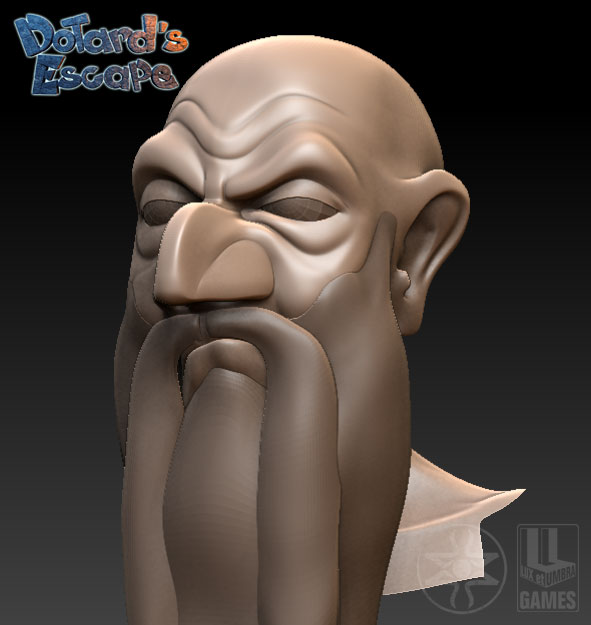
And three of them was used to create countdown icons.
Now it's time to create the splash screen illustration.
I create the scene with simple box modeling to fit the rough concept and set the camera. Then I exported the smiling Dotard and the block-out scene into Zbrush for posing and refining [I used Transpose Master].
I sculpted 3 stone blocks in Zbrush from a base mesh done in Modo, just to generate a good normal map for the final image.
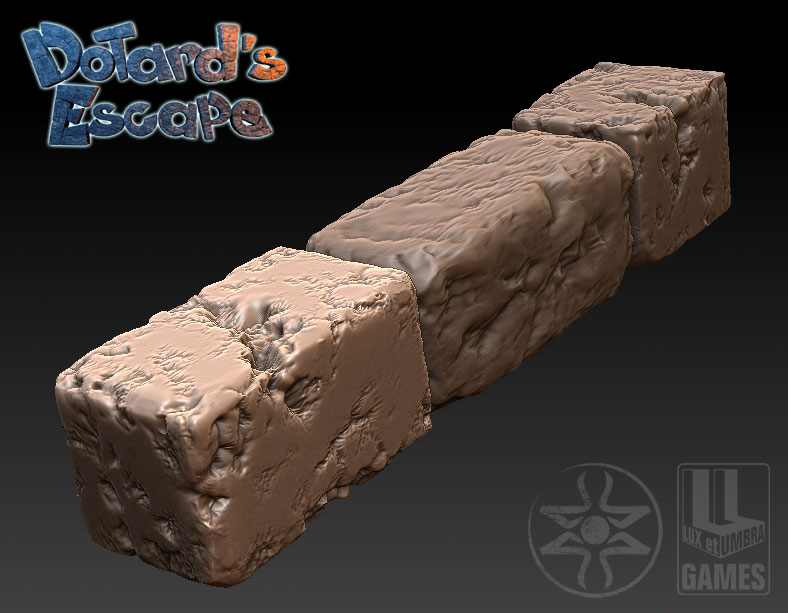
Base mesh was splitted in two and randomly aligned in long strips bended on the scene cage with Maya deformers. I used to use Maya deformers because they are much more productive and fast [Modo 601 was not yet released].
Everything was imported into Modo. Other scene element was modeled directly in place, except the skeletons [they are other characters modeled, shaded and posed in a separate scene].
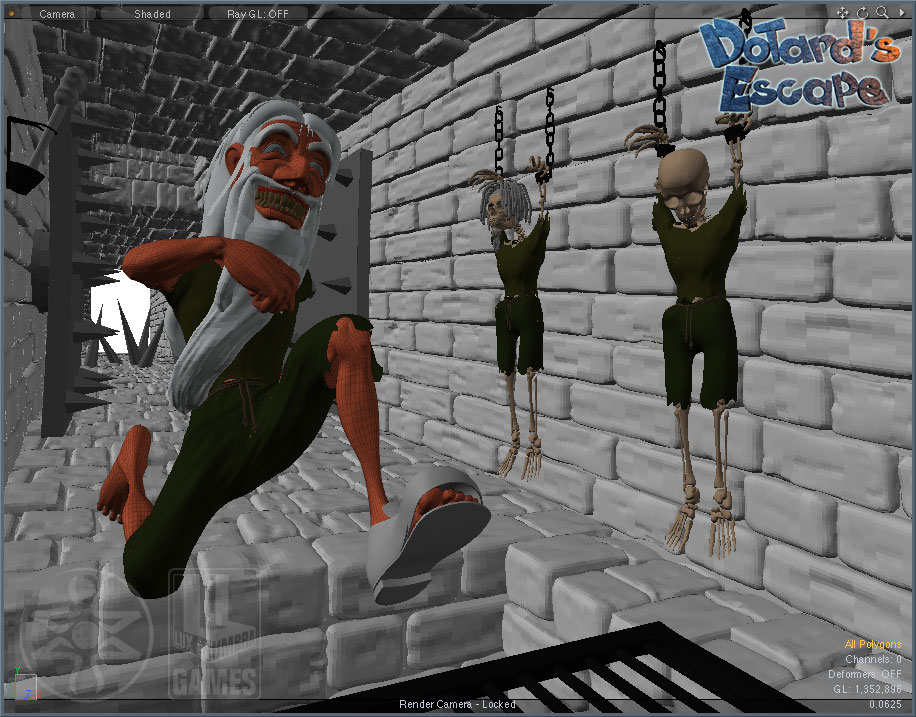
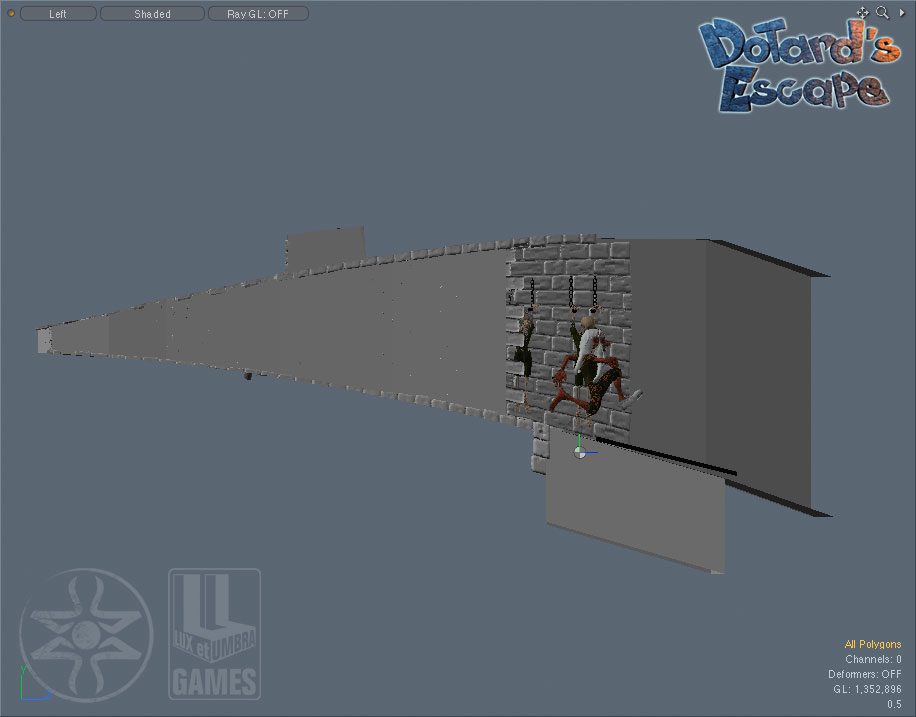
For these illustrations I do not used global illumination, but classic multi-light rig with different tones. Much more fast and a nicest cartoon look.
The Logo was rendered in a separate render pass, then composited in Photoshop.
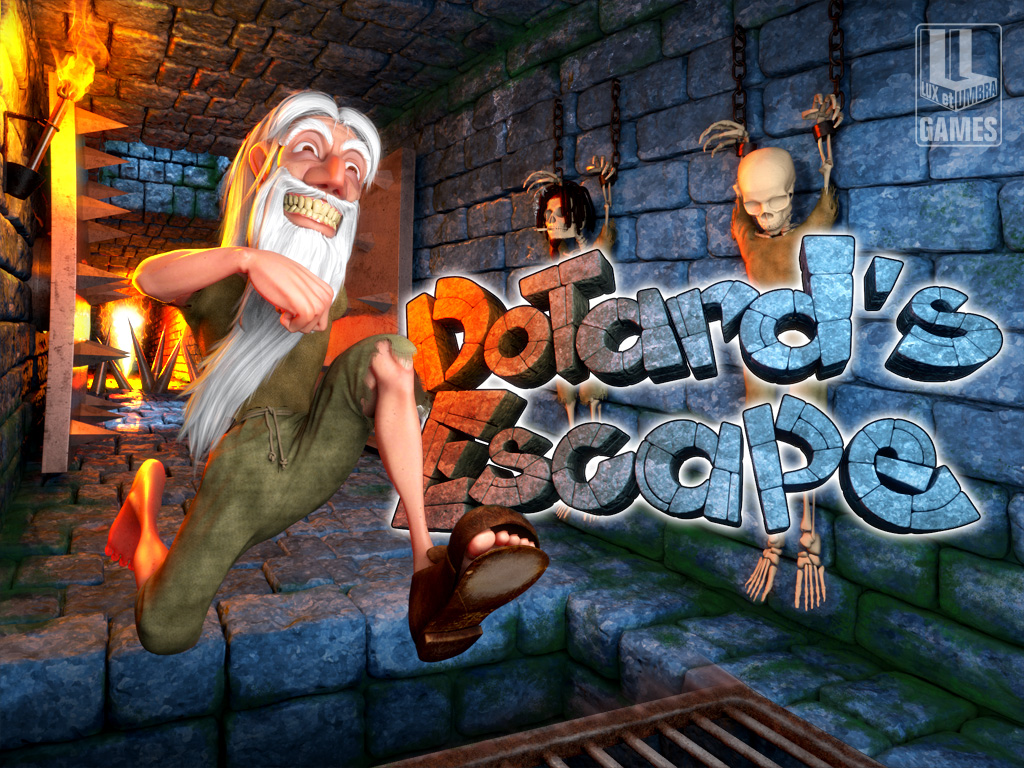
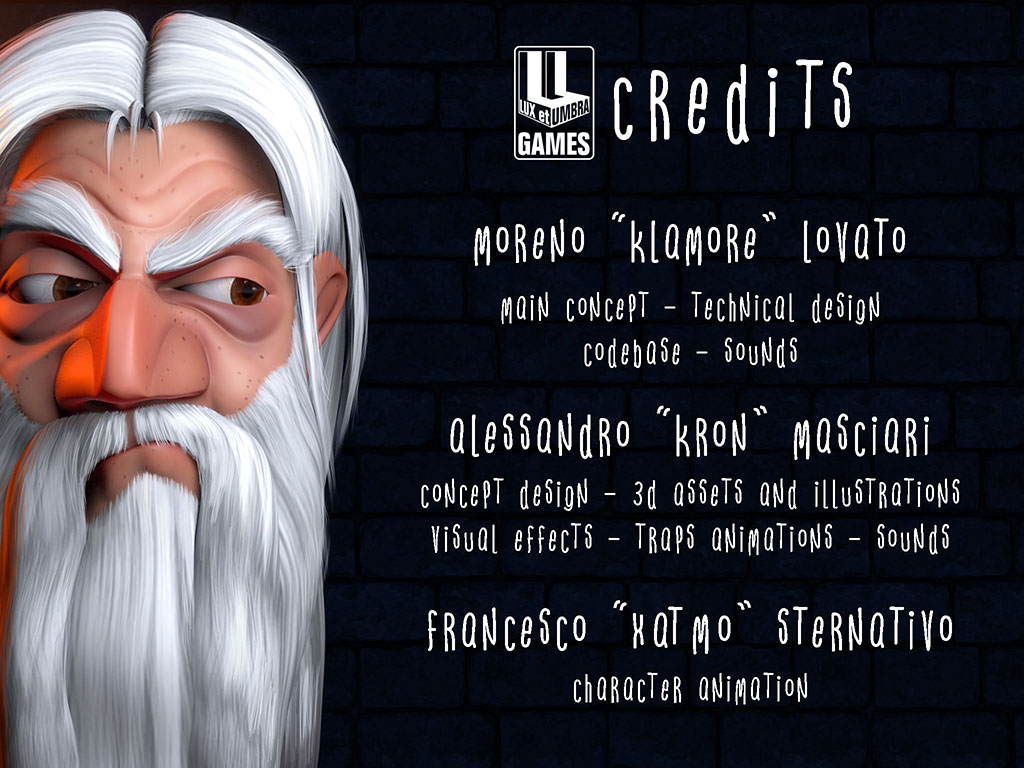
Just one more image before I left this first part. Hope you like it ;)

No comments:
Post a Comment